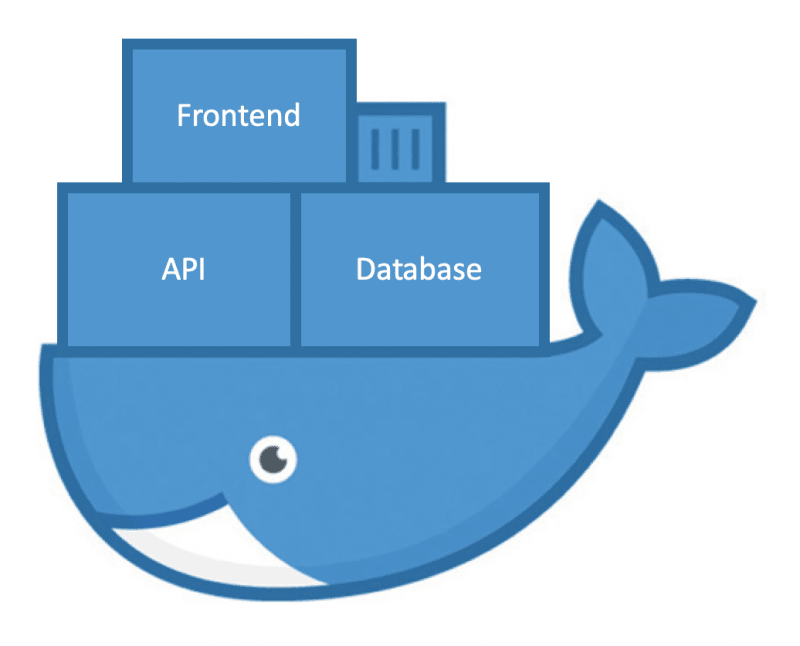
Creating a Web Application Stack with Docker Swarm
So you’re a web application developer and you want to get started with Docker Swarm? You’re in the right place. When I was first learning how to incorporate Docker and Docker Swarm into my existing toolset, there were plenty of examples but none that matched my intended stack of software.
All it came down to was knowing the right base images to use and which software would and would not work with those images. Nevertheless, if I can help one person to skip that process, this article will be well worth it 🙂
Note: Since this is meant to be an introduction to Docker Swarm, the examples below assume you’re on a single-node Swarm cluster. Though most of the following examples will work in a distributed environment, the complexities of a distributed database in Swarm (whether something as simple as SQLite or not) is beyond the scope of this article.
Why Use Docker Swarm for a Web App
For me, the main reasons you’d want to use Docker and Docker Swarm for your web application stack are:
- Docker forces you to separate your application into logical components
- Your development/testing/staging stacks are identical to your production stack. Nothing to forget when deploying or migrating to a new environment.
- Greatly simplified networking between components of your stack
Terminology
Ok, before showing the example web application stack in Docker Swarm, I want to define a few things in case some of this sounds confusing.
- Docker A platform which hosts pieces of software (i.e. containers) along with all of their dependencies without the need for virtualizing an entire OS
- Dockerfile A file that defines the software and dependencies that go into a Docker image (a Docker container is a running instance of an image). A Dockerfile will often end with a single “CMD” entry. That instruction is essentially the software contained by your image (e.g. web server, database server, backend processing script, etc)
- Docker Swarm The native container orchestration tool for Docker which allows you to define a “stack” of related containers meant to run together. If you’ve heard of or are familiar with Kubernetes, that and Swarm intend to fulfill a lot of the same needs
- Service A logical component of your stack based on a previously defined Docker image
- Volume The built-in system for persisting data in Docker and Docker Swarm. This is necessary since any data stored in a container will be lost after that container is stopped/restarted
Docker Configuration
Now that you have an understanding of some of the basic components of Docker Swarm, the rest of this article will be focused on the configuration files you’ll need to get a web application stack running in Swarm. The components I’m using are as follows:
- Web server hosting a JavaScript framework powered frontend
- Web server for a Flask-like API to power the frontend
- SQLite or MySQL database for persistence
Dockerfile for the Frontend
This is an example from a Vue.js project of mine but the same Dockerfile should work with other JavaScript frameworks which use npm for build and dependency management. You’ll see by the final line of this Dockerfile that the frontend is hosted using nginx. This file goes in the root of your project (i.e. where package.json lives).
### Build stage ###
# Using a separate build stage so that only the built frontend will go in the final image
FROM node:8-slim as build-stage

WORKDIR /app

# Copy and install dependencies
COPY package*.json ./
RUN npm install

# Copy our app into the image and build it. Doing this as a separate step creates a separate
# "layer" so if the application changes but the requirements.txt does not, the next image build
# process will start here instead of above.
COPY . .
RUN npm run build

### Production stage ###
FROM nginx:stable-alpine as production-stage
COPY --from=build-stage /app/dist /usr/share/nginx/html
COPY ./nginx.conf /etc/nginx/conf.d/default.conf
EXPOSE 80
CMD ["nginx", "-g", "daemon off;"]
To build the frontend Docker image, just execute the following in the root of your project:
docker build -t frontend .
For completeness sake, here is a sample nginx configuration file you could use:
server {
    listen          80;
    server_name     makeshiftinsights.com;
    access_log      /dev/stdout;
    error_log       /dev/stderr;

    root /usr/share/nginx/html;
    index index.html;

    # Proxy requests to "/auth" and "/api" to backend
    location ~ ^/(auth|api){
        proxy_pass http://backend;
        proxy_redirect off;
    }

    # Everything else goes to index.html
    location / {
        try_files $uri /index.html;
    }
}
Dockerfile for the Backend
Due to its popularity, the following assumes you’re using the Python package Flask for web service development. There are plenty of examples out there if you’re using something different. If you’re starting from scratch and familiar with Flask, I’d recommend using FastAPI as a more performant alternative. As a bonus, you can find a predefined Docker base image for FastAPI here.
# Base image
FROM python:3.6

# Install python and uwsgi
RUN apt-get update
RUN apt-get install -y nginx
RUN pip3 install uwsgi

WORKDIR /app

# Copy and install requirements
COPY service/requirements.txt .
RUN pip3 install -r requirements.txt

# Copy our app into the image. Doing this as a separate step creates a separate "layer"
# so if the application changes but the requirements.txt does not, the next image build
# process will start here instead of above.
COPY . .

# Setup and start nginx
COPY ./nginx.conf /etc/nginx/sites-enabled/default
CMD service nginx start && uwsgi -s /tmp/uwsgi.sock --chmod-socket=666 --manage-script-name --mount /=api:app
This Dockerfile expects your Flask entrypoint file to be located at api.py and the Flask instance within that file is named app.
To build the backend Docker image, just execute the following in the root of your project:
docker build -t backend .
Docker Swarm Compose File
The stack itself is defined in a docker-compose.yml file like the following.
version: '3'

services:
    frontend:
      image: frontend:latest
      ports:
          - "80:80" # Exposes port 80 from the container as port 80 on the host
    backend:
        image: backend:latest
      volumes:
          - database-volume:/app/data

volumes:
    database-volume:
I tend to put the compose file in its own repository along with any other project level files put it can also live wherever you wish as long as you can access it when running the deploy command (see below).
A database server isn’t needed in many cases so we use a volume (called database-volume above) to store a SQLite database file.
To start all this up, assuming you have Docker installed, all you have to do is execute the following:
docker swarm init
docker stack deploy -c docker-compose.yml my-stack-name
Using a Database Server Instead of SQLite
If you decide you do need a database server, there are plenty of options. There is an official Docker image for MySQL and you would need a mostly empty project/repository with the following Dockerfile:
# Base image
FROM mysql:5

# Copy initialization files
COPY init/ /docker-entrypoint-initdb.d/
Any SQL files located under /docker-entrypoint-initdb.d/ will be executed once the container starts up for the first time. You’d also have to add this as another service to the compose file above like this:
sm-database:
    image: sm-database
    # If we want to use database tools
    ports:
        - "3306:3306"
See the docs for more information on how to use this image.